Underwater photo editing: tips for improving colors and clarity
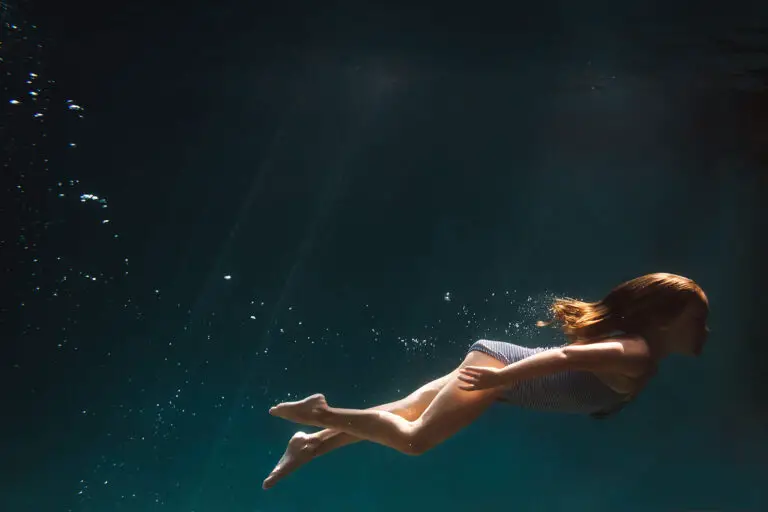
The allure of underwater photography lies in the surreal beauty of the aquatic world. Yet, capturing the vibrancy and detail of the deep blue requires more than a skilled snap of the shutter. The true magic happens during the editing process, where an image is transformed from good to stunning, revealing a world that existing only in your lens and imagination. But underwater photography presents distinct challenges, from the play of light to the warping of color, making it a unique canvas for any photo editor. In this extensive guide, we’ll plunge into the depths of underwater photo editing, offering insights and tips that will help enhance your underwater images and captivate your audience.
Understanding Underwater Photography Challenges
Photography below the water’s surface comes with a set of challenges that are markedly different from those on dry land. Here, we explore the primary hurdles that photographers face:
Light Conditions
One of the most significant challenges is dealing with varying light conditions. Sunlit waters can create intense beams that pierce through the ocean, casting spots and ripples of light on the bottom. Conversely, murky waters absorb light, turning the undersea landscape into muted, shadowy realms.
Color Distortion
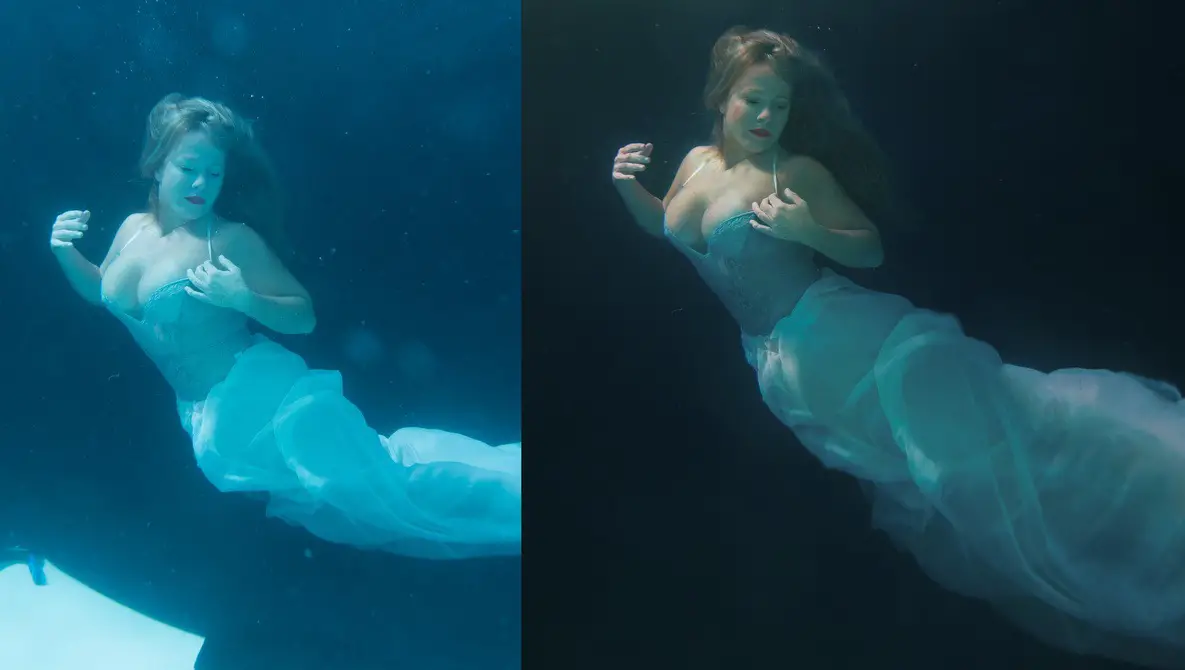
Water acts as a powerful filter for light, absorbing different wavelengths at different depths. This results in a color cast that changes as you descend. Reds and yellows are the first to be absorbed, leaving an image with a blue or green tint the deeper you go.
Clarity Issues
Suspended particles in the water can cause a loss of sharpness and details in your photos. This ‘haze’ can obscure even the most vibrant scenes, making clarity a premium when it comes to underwater editing.
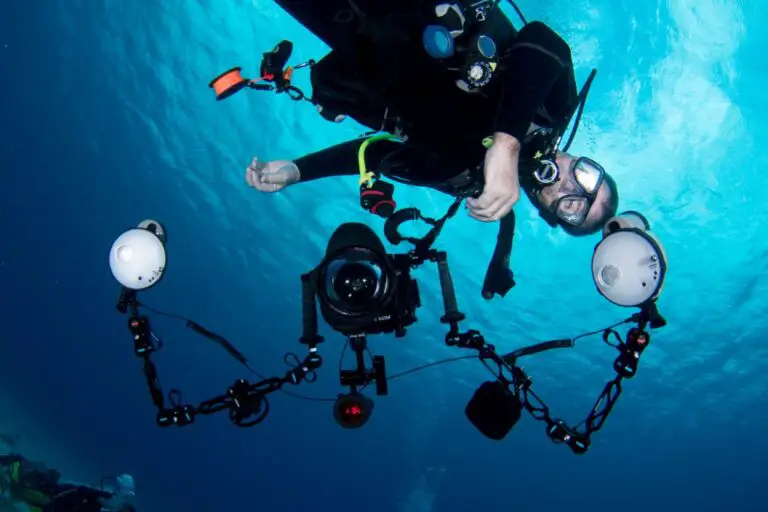
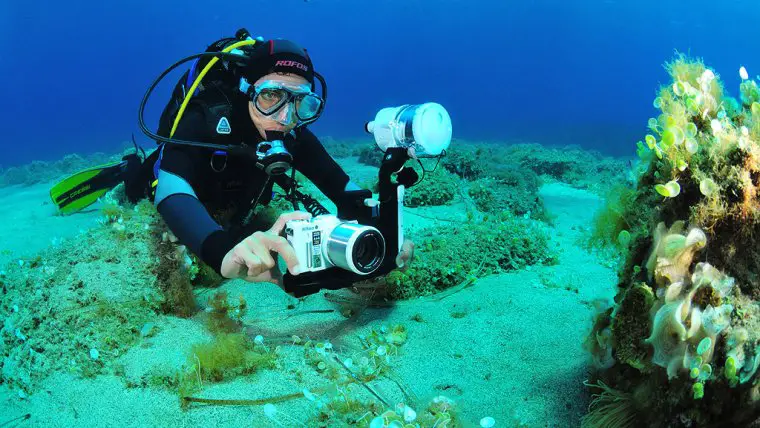
Tools for Editing Underwater Photos
To tackle these challenges head-on, you need the right set of tools. Professional photo editing software, such as Adobe Lightroom or Capture One, offers specific features catered to underwater editing.
Software Recommendations
- Adobe Lightroom: Known for its intuitive editing interface and the ability to enhance colors with precision.
- Capture One: An industry favorite for its high-quality RAW processing and color grading features.
Filters and Presets
- Color Correction Filters: These can help rebalance colors to their natural state, making whites appear truly white.
- Underwater Photography Presets: Custom presets are a great starting point, especially for consistent underwater editing style.
Enhancing Colors
Color is a crucial element in underwater photography as it evokes the life and energy of your subjects. Here’s how you can make colors pop without looking unrealistic.
Adjusting White Balance
Underwater scenes often require dramatic white balance adjustments. Correcting for the loss of warm tones can significantly improve the vibrancy of your images. Try setting the white balance to the ‘Cloudy’ preset if your photo has a blue hue.
Saturation Levels
Gentle increases in saturation can bring out some incredible colors in underwater shots. However, it’s easy to overdo it, resulting in a garish look. Balance is key, and always use a light touch when making these adjustments.
Color Correction Techniques
Editing software provides various color correction tools that allow you to fine-tune individual color channels. For example, boosting reds and yellows can counter the natural blue tones that dominate in deeper waters.
Improving Clarity
Clarity gives your underwater images the sharpness and detail that can otherwise be lost to water’s diffusing effect. Here are some techniques to ensure your photos are sharp and clear.
Sharpening Techniques
Unsharp Mask and similar tools in photo editing software can add definition to elements within your image. Underwater, be cautious with high sharpening levels, as they can accentuate noise and digital artifacts.
Noise Reduction
Underwater photos often come with a significant amount of noise, especially in the darker, shadowy areas. Noise reduction tools can help to smooth out these areas while preserving intricate details.
Enhancing Details
Most editing software offer sliders for texture and clarity that can enrich the fine details. However, when working with underwater photos, less is often more. Overuse can lead to an unnatural, harsh look.
Tips for Effective Editing
Here are some practical tips to refine your underwater photo editing process, ensuring consistency and quality:
Consistency in Editing Style
Develop a signature editing style that builds a cohesive feel across your underwater photography. This can be achieved by creating and using your own presets or applying similar adjustment patterns to all your images.
Preserving Natural Colors
The beauty of the underwater world lies in its natural palette. While editing, it’s important to enhance the colors that are already there, rather than introducing new ones. Pay close attention to preserving the visual integrity of the scene.
Avoiding Over-Editing
It’s easy to get carried away with sliders and filters when editing. Regularly step back and take a broader look at your image. Pause and ask yourself if your edits enhance the photo or detract from it.
Conclusion
Underwater photo editing is both an art and a science. It calls upon your intuition to bring out the emotive quality of the ocean’s beauty, while also demanding precision to overcome the inherent challenges of shooting in water. By understanding the nuances of editing such photos, you can unlock the full potential of your underwater captures and transport your viewers to the mesmerizing world beneath the waves. Remember these tips, and your underwater portfolio will be a narrative of color and clarity that not only reflects the true essence of the ocean but also stands out in the vast sea of visual content.