
Mastering Star Trails Photography with Long Exposure
Long exposure photography is an art form that allows photographers to capture the essence of time within a single frame. One of its most enchanting manifestations is the creation of star trails – the stunning arcs left by stars as they appear to move across the sky due to Earth’s rotation. This technique not only yields mesmerizing images but also offers a profound connection to the universe and the passage of time. If you’ve been inspired by the celestial beauty above and want to try your hand at mastering the art of capturing star trails, this comprehensive guide is your essential step to painting night skies with light.

Understanding Star Trails: A Phenomenon of Time and Space
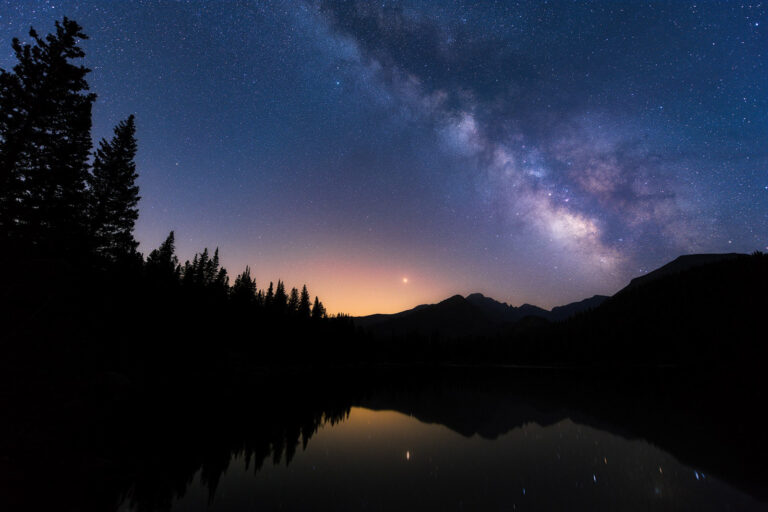
Star trails are the result of celestial bodies’ apparent motion across the sky. This phenomenon is caused by the Earth’s rotation, which weaves the stars’ points of light into concentric circles when observed over prolonged exposures. The process can be visualized like drawing repetitive shapes in the same spot every few seconds. When strung together, these shapes construct lengthy, eye-catching patterns that tell the story of the night’s unhurried motion.
Importance of Long Exposure for Capturing Star Trails
To immortalize this motion in a still image, a long exposure that ranges from several minutes to hours is necessary, depending on environmental and artistic factors. The longer the exposure, the longer the trails will appear in the final photograph. This protracted gathering of light can also capture subtle details and colors in the night sky that would normally be invisible to the naked eye.
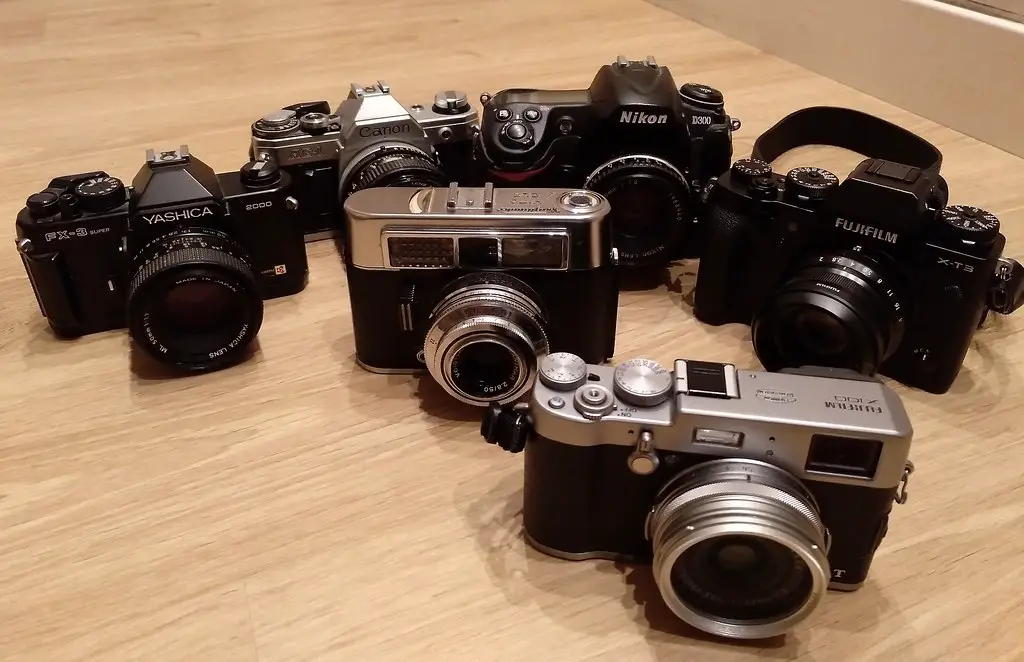
Equipment Needed for Star Trails Photography
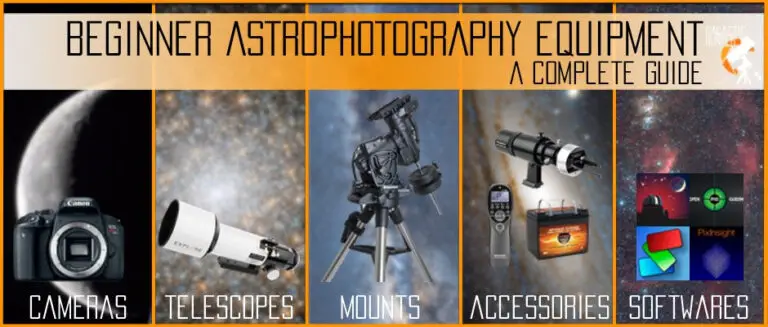
Achieving the perfect star trail image requires the right gear. Here’s what you need:
Camera Requirements for Star Trails
The camera you choose should have manual exposure settings, long exposure capability, and a bulb mode, which allows you to keep the shutter open indefinitely, ideal for exposures that can reach across the night.
Tripod and Remote Shutter Release: Stability is Key
A sturdy tripod is non-negotiable to keep your camera perfectly still for the duration of the long exposure. A remote shutter release will also prevent any unwanted camera shake when taking the photograph, even the tiny amount caused by pressing the shutter button.
Setting Up the Perfect Star Trail Shot
The success of your star trail photography heavily depends on your initial set-up. Here’s how to get it right:
Location Selection
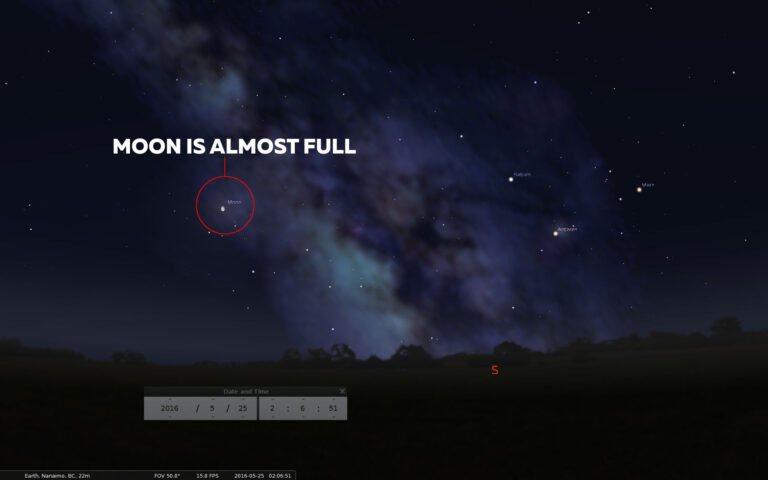
Choosing the right location is crucial. Look for spots with minimal light pollution to allow the stars to shine at their brightest and with a clear view of the sky.
Camera Settings for Successful Star Trails
Set your camera to manual mode and open the aperture as wide as possible. The ISO should be relatively low to avoid noise, and the exposure time will depend on your artistic vision and the speed of the Earth’s rotation – typically starting at 15 to 30 seconds and extending to several minutes or even hours for the final exposure.
Techniques for Capturing Star Trails
There are several approaches for capturing star trails, and each has its own unique benefits and challenges:
Stacking vs. Single Exposure Method
Stacking involves taking several shorter exposures and combining them in post-processing to create the star trails. This method reduces noise and gives you more flexibility in the composition. On the other hand, the single exposure method is an all-in-one take that requires careful planning and timing but captures the passage of time more fluidly.
Minimizing Light Pollution
If you can’t escape light pollution entirely, you can use a light pollution filter or shoot at different times when light levels are at their lowest. Balancing the exposure of the foreground and stars can be one of the most challenging yet rewarding aspects of this photography genre.
Post-Processing Tips for Polishing Your Star Trail Images
The night sky, just like the rest of nature, often looks its best with a little touch-up. After you’ve managed to capture the raw beauty, here are the steps to refine your masterpiece:
Selecting the Right Editing Software
Software like Adobe Lightroom and Photoshop are industry standards, but there are also many other excellent options available for those seeking alternatives.
Enhancing Star Trails in Post-Production
In post-processing, you’ll want to reduce noise, improve contrast, enhance colors, and bring out the details of the stars and Milky Way without overprocessing the image. You can also remove any unwanted airplane trails and harmonize the final composition.
Inspiring Examples of Star Trails Photography
There are countless awe-inspiring examples of star trails photography that can serve as both motivation and a learning tool. We’ll explore several striking images that showcase the diverse approaches and effects that can be achieved.
Conclusion: Encouragement to Look Up and Capture the Timeless Dance
Photography is a constant exploration of light, space, and time. Star trails photography lets us capture the vastness of the universe and provides a rare perspective on our place in it. It takes patience, practice, and a certain amount of adventure to pursue this photographic phenomenon, but the results are nothing short of magical.
To all the photography enthusiasts out there, I encourage you to grab your camera, find a quiet spot away from the city lights, and immerse yourself in the majestic dance of the stars. The universe is your canvas, and star trails photography is your opportunity to create a work of art that is both timeless and uniquely your own. Keep looking up, and keep chasing those dreams among the cosmos. Happy shooting!