DIY Astrophotography: Tips for Building Your Own Camera Accessories
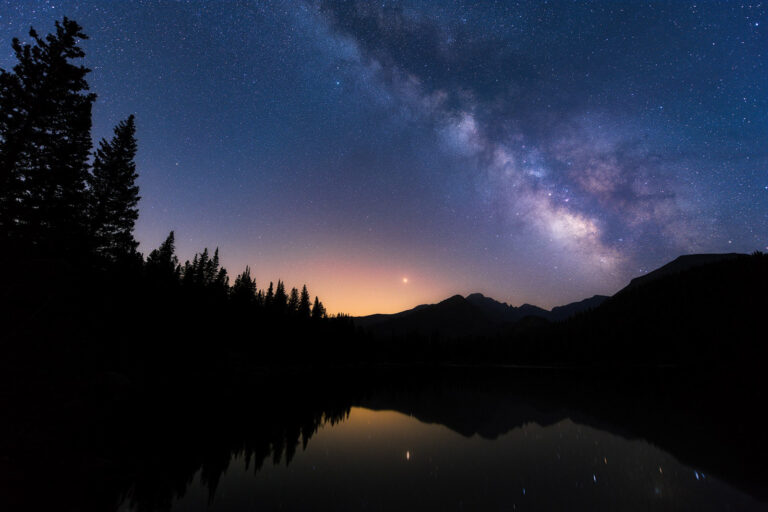
For stargazers and photography enthusiasts, there’s something magical about capturing the night sky. Astrophotography is a medium that combines technical skill with an appreciation for the celestial beauty above. And while the right equipment can transform an hobbyist’s evening into a stunning photo gallery of cosmic wonders, there’s an art to customizing that equipment for optimal results. This is where the DIY approach to camera accessories can truly illuminate your astrophotography adventures.
In this guide, we dig into how you can take your nighttime photography to new heights by building camera accessories tailored specifically for the art of shooting the stars. From minimizing shake during those long exposure shots to filtering out the obtrusive glow of city lights, we’ll walk you through several projects that can enhance your astrophotography without breaking the bank.
DIY Camera Accessories for Astrophotography
1. Tripod Stabilizer
The foundation of any good astrophotography setup is a sturdy tripod. However, even the most solid of tripods can be vulnerable to the slightest wind or accidental bump. A custom tripod stabilizer can vastly improve the stability of your setup, making it easier to capture those crystal-clear star fields.
Building Your Stabilizer
To create a stabilizer, you’ll need:
- A length of aluminum or carbon fiber tubing
- Mounting hardware compatible with your tripod’s head
- A level to ensure your stabilizer keeps your camera flat and stable
Start by measuring the distance from the center of your camera’s mounting point to the ground when your tripod is fully extended. Cut your tubing to this length, then mount the hardware to both ends (one for the tripod head and the other for the ground). Ensure your stabilizer can pivot smoothly without losing its level, and you’re ready to go.
The Benefits of DIY
By customizing your stabilizer, you can adjust it perfectly to your height and shooting preferences. This personalization is key in astrophotography, where long hours and precise adjustments are common.
2. Remote Shutter Release
Long exposure shots are a staple in astrophotography, but the simple act of pressing your camera’s shutter button can introduce enough shake to ruin an otherwise perfect image. A remote shutter release lets you trigger the shot without touching your camera, and it’s surprisingly easy to make at home.
Your DIY Shutter Release
You’ll need:
- A momentary switch
- A 2.5mm audio cable
Cut the audio cable in half and wire the switch to one side, leaving the other plain for your camera. Solder the correct connections inside the switch and casing, and you have a custom remote shutter release.
Improving Your Nighttime Captures
With your homemade remote, you can take those long exposure shots without any fear of camera movement. This kind of precision is crucial when photographing the night sky, where a single wobble can blur the stars.
3. Light Pollution Filter
If you’re shooting from within a city, you’ll be familiar with the orange glow that washes out your attempts at astrophotography. A light pollution filter can help reclaim the night sky’s natural darkness, and making your own is an economical way to do just that.
Crafting a DIY Filter
For a custom light pollution filter:
- Obtain optical glass with a filter thread size to match your camera lens
- Cut sheet film or gel filters to size and affix them to the glass
- Ensure a snug fit on your lens, either with a filter holder or a threaded mount
A Clearer View of the Cosmos
When your filter is in place, you’ll notice an immediate difference in the quality of your night sky images. The stars will shine more brightly against the now inky blackness of the night.
4. Camera Lens Hood
A lens hood may seem like a small detail, but it’s an important one in astrophotography. By cutting down on stray light that can cause lens flares, a hood can improve contrast and maintain the integrity of your image.
Design and Construction
To build your lens hood:
- Measure the diameter of your lens’s widest point
- Cut a piece of cardboard or plastic in a cylindrical shape, with the diameter slightly larger than the lens
- Cut the end of the cylinder in a series of inverted steps to create a “flower petal” shape
- Mount your new hood on your lens with a tight fit
The Glory of the Heavens, Unencumbered
With a custom hood fitted to your lens, those vibrant star clusters and nebulas will shine through your photographs without the interference of unwanted artifacts.
SEO Tips for DIY Astrophotography Blog Post
To ensure your DIY astrophotography blog post reaches stargazers and night photographers far and wide, it’s crucial to consider search engine optimization (SEO). Here are some strategies to boost your post’s visibility:
- Keywords: Incorporate relevant keywords naturally throughout your content. Focus on terms like “DIY astrophotography,” “camera accessories,” and specific project names.
- Meta Tags and Alt Text: Use descriptive meta tags and alt text for images that clearly communicate the purpose of the post and the visuals within it.
- Internal and External Links: Ensure your post is well-connected within your site with internal links. For external links, direct your readers to reputable resources that can provide further information on DIY astrophotography.
Conclusion
The allure of the cosmos is within reach with DIY camera accessories for astrophotography. By crafting your own tools, you not only save money but also gain a deeper understanding of your gear and the craft. We’ve covered just a few projects here, but the world of DIY in astrophotography is as vast as the night sky itself.
We encourage you to get started on your own DIY astrophotography projects, and to share your creations with the community. After all, the more we build and learn together, the richer our experiences under the stars will become. Happy shooting, and may your control of the cosmos be as steady as the North Star.